Setting up an Airbnb is like trying your hand at being an interior designer– and learning how to design an Airbnb is no small undertaking. Everything from choosing a style, layout decisions, budgeting, and staying organized as you execute your vision–its all SO fun, yet so intimidating. Lets talk through it!
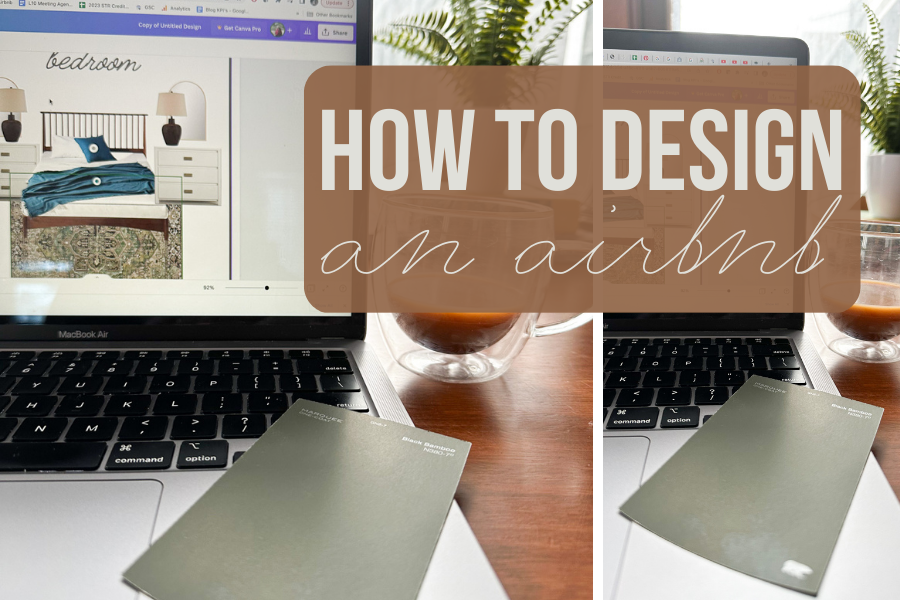
For all of us creatives who love design and decorating, having an Airbnb is a perfect creative outlet and just SO stinkin’ fun! And lucky for us, it also happens to be a great income source too.
But what makes designing your STR a little different than your average project? You want it to be all about the guest!
Theres so much to take into consideration, especially since competition is fierce out there as more and more hosts join the platform. The key is to get inspired, create a vision, and stay organized as you execute that vision to create an Instaworthy space that guests just won’t be able to resist!
Since I’m in the process of designing a listing right now, I thought I’d share my process for designing and styling my STRs from start to finish.
This post is all about how to design an Airbnb.
How to Design an Airbnb:
1. Get to Know Your Guest
The first step to setting up your short-term rental is designing with the guest in mind. Who are they, what are they looking for, and what appeals to them? Are they families, couples, solo travelers, tourists, vacationers, etc.?
In vacation or tourist markets, this is an easier ask, but its still great to know specifics about your potential guests. For those of us in markets outside those parameters, its important to find out what brings guests to the area.
There are several ways to do this. Networking with other STR investors in the area and asking who their guests are and what they like is a great first place to start. You can join local Facebook groups for Short-Term Rental hosts and go to local meetups.
Another great way to understand your guest is to study other successful listings in your area and read their reviews. See if guests leave any hints as to why they are traveling and what they liked about the property they were staying at.
Take notes and keep these things in mind as you plan for your design. Always remember that your guests want an experience, not just a great place to stay.
Related: Top 21 Things Airbnb Guests Love
2. Get a Pinterest Board Going
Next, you’ll want to get a Pinterest board going ASAP. Pinterest is a great way to gather design inspiration and save ideas so you can easily come back to them in the future. You can even create sub-categories for individual rooms to help keep your ideas organized.
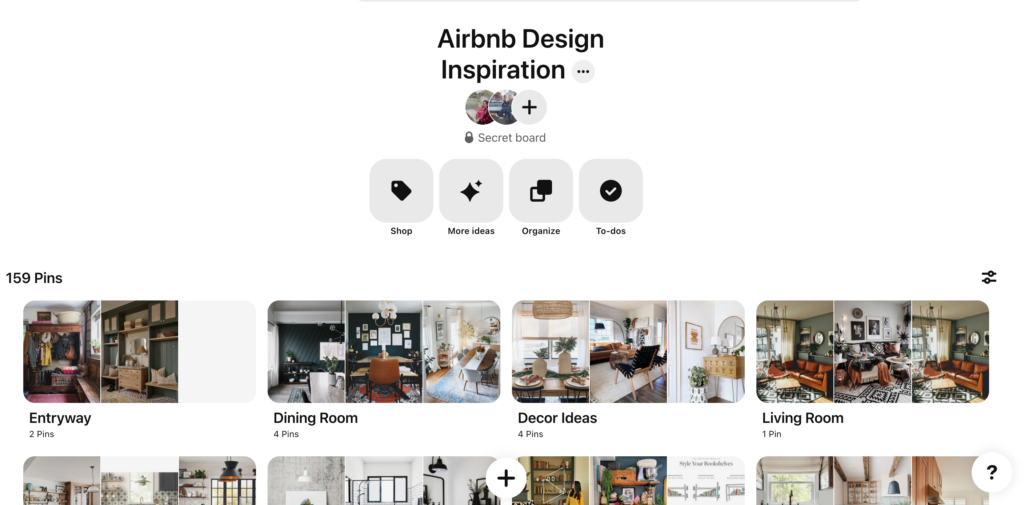
In the beginning, its all about idea-dumping as much as possible and getting all the inspiration you can. As you get further along in the design process, you’ll can start to refine your boards and clean them up as you decide on more specifics for the project.
4. Decide on a Layout
Next, its time to make some decisions on how you’re going to set up each room. Plan where you want to place furnishings and make any measurements that you’ll need as you do your shopping. Create a quick sketch if thats going to be helpful to you.
I always like to prioritize comfort and ease when it comes to layout. One of the most important spots to consider are the bedrooms. A couple of rules of thumb for a bedroom layout are (1) Have Queen or King beds whenever possible, because guests love large beds. But, (2) Always center a bed so that it can be accessed from both sides. If you’re working with a small space that might mean needing to go with a smaller sized bed, and thats okay.
5. Pick a Theme or Style
Here’s where it gets really fun! Keeping your guest, your location, and style of your home in mind, think about what kind of design style or “theme” you want to go with. Your style should really reflect the locality of your neighborhood, city, town, or location and give guests the true experience of what it means to travel to your specific place. Now when it comes to a “theme”, don’t take this too literally (i.e. go with coastal instead of beach).
Really think about it and actually write down the name of the style you’re going with. For example, you might do a blend of bohemian & coastal or modern & industrial. If you’re looking for a guide when it comes to design styles, I highly suggest watching this video:
As you go forward, really stick to this design style as you plan your entire space. You want to make sure it looks cohesive and intentional.
6. Find Accent Pieces to Inspire Your Color Scheme
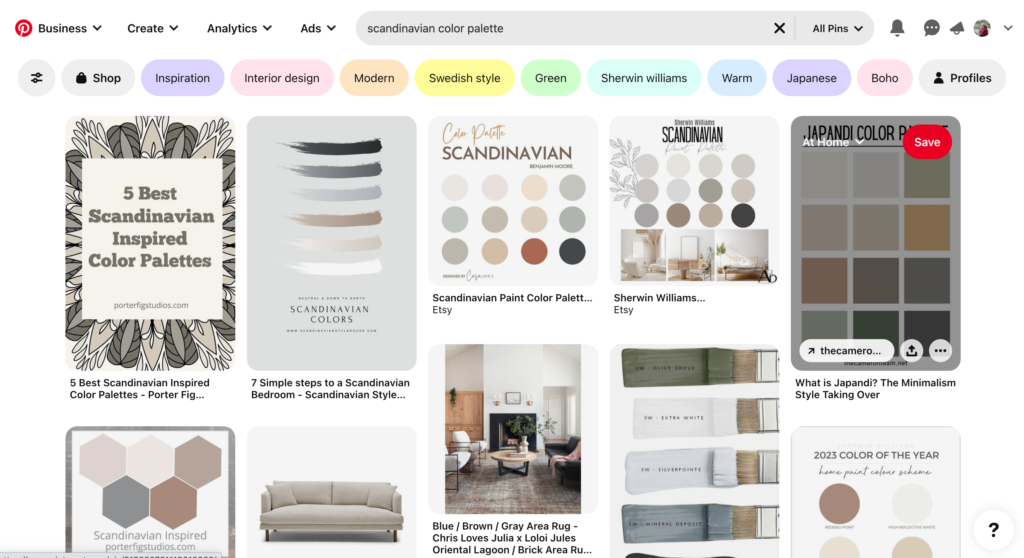
In addition to picking and sticking to a design style, you’re also going to want to select a color palette. First, stick with a color palette that represents the design style you chose. If you’re unsure, just type right into Pinterest “[design style] color palette.” For example, here’s what I get when I type in “Scandinavian color palette:”
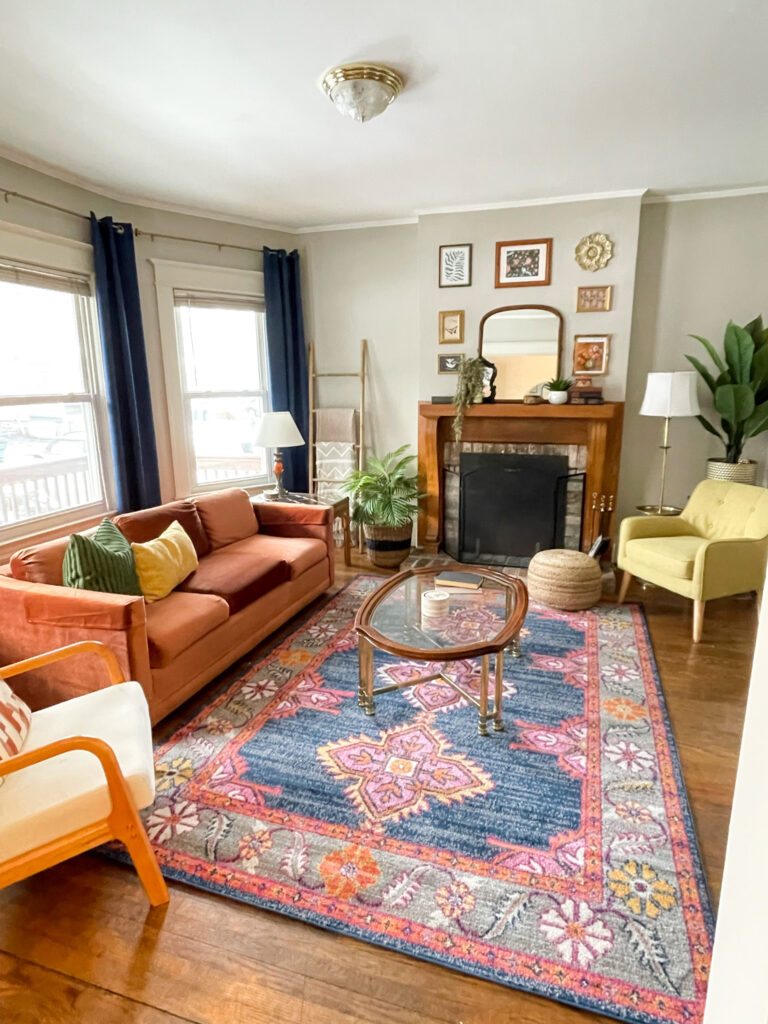
Then, I also like to get inspired by doing some shopping around or using a furnishing or decor piece I already have on hand to help start a color palette. For example, I found a gorgeous vintage copper/orange velvet couch on Facebook Marketplace that I used to inspire the color scheme for this room:
Related: 15 Stunning Airbnb Living Room Ideas That’ll Get Your Listing Ranking
7. Create a Mood Board on Canva
A mood board is a collection of inspiration images, colors, and samples that lend ideas for your design project. Creating a mood board is a great first step in any design project. You can make one for free in Canva using any one of their many, many templates.
Another way I use a mood board as I’m further along in the design process is by actually uploading photos of products that I’m considering buying for the space and placing them next to each other to see how they look.
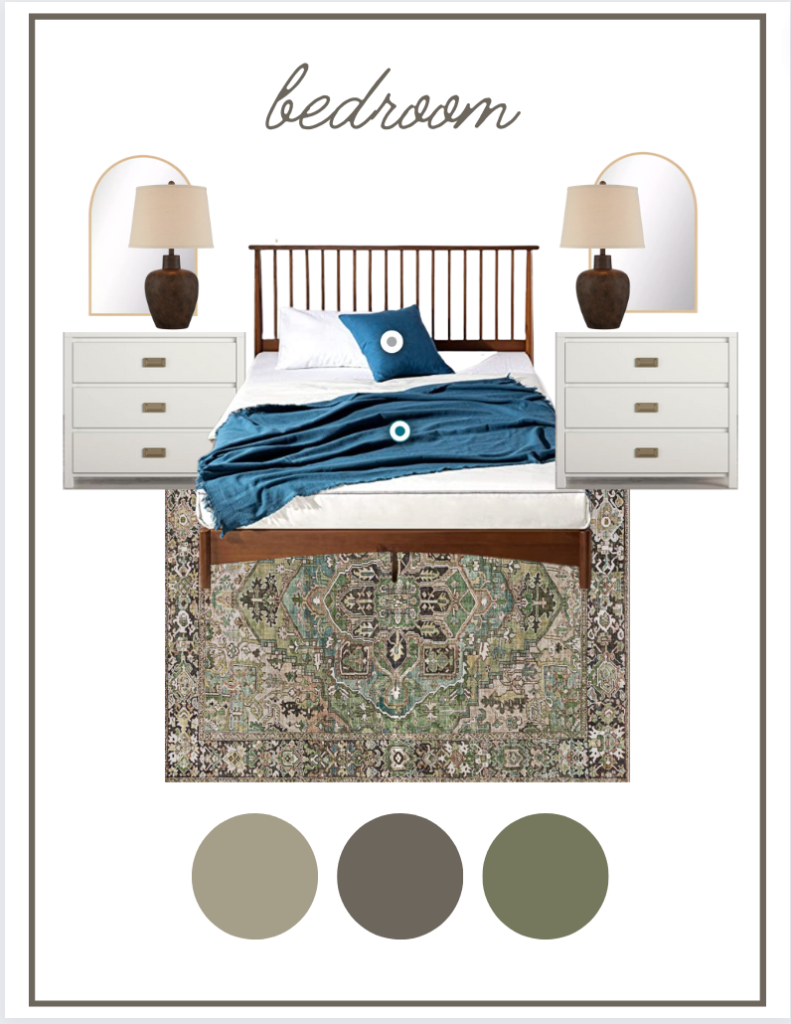
If you’re like me and have trouble getting a good vision for a space without physically seeing things in place, this is a life-changing hack so that you can get that vision just by using the screenshot feature on your phone and Canva.
Tip: to remove backgrounds of images, you can use remove.bg
3. Set a Budget
Next you’ll want to set a budget for yourself and track your spending as you go. To do this, you’ll need to get down to the nitty-gritty and itemize everything you’re going to need to purchase for your short-term rental and get a good estimate of all your expenditures.
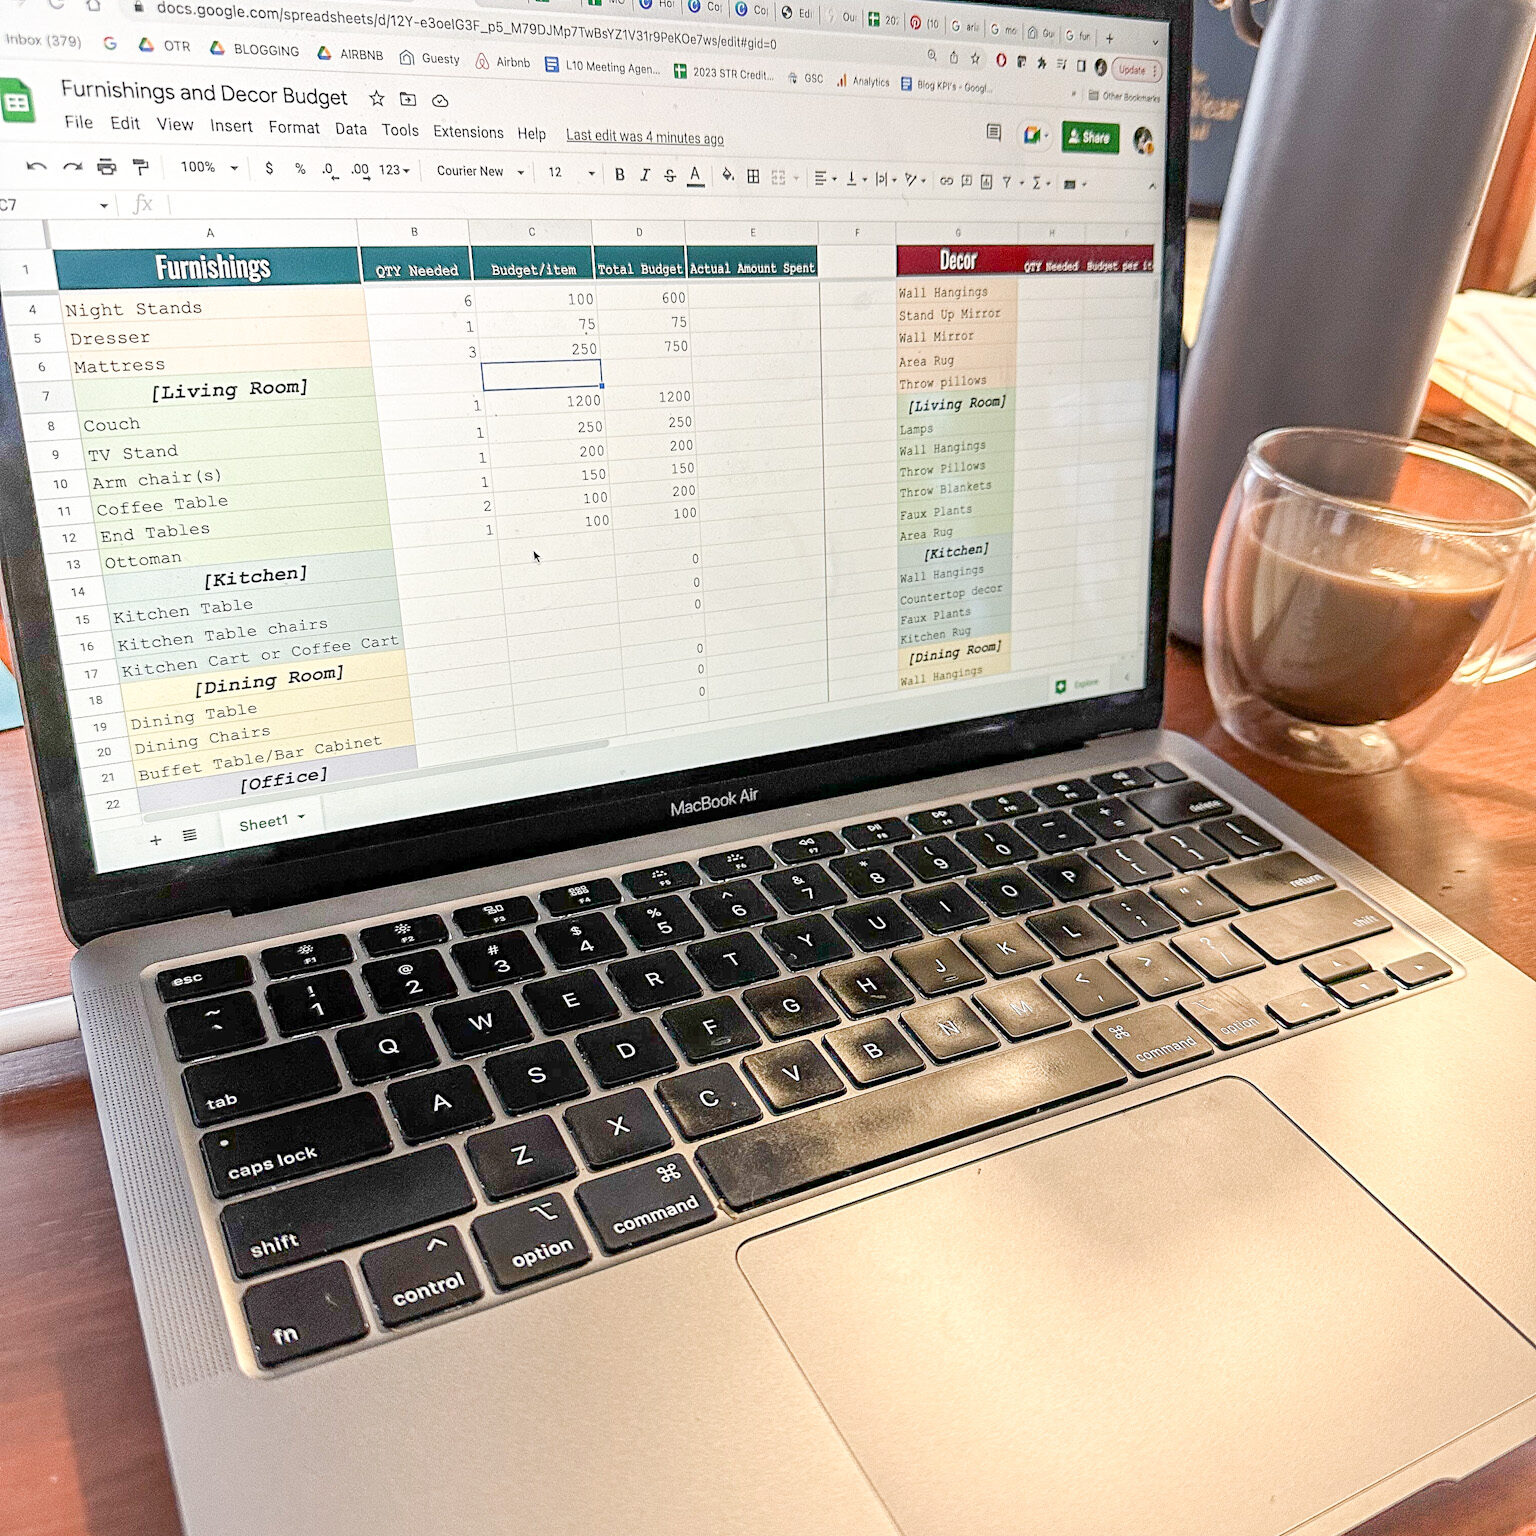
I created a quick Google sheets doc for this and I itemize by room every single thing I am going to need for that room. I’ve broken mine down so that it has just furnishings on one side, and then finishing touches/decor on the other side. If you are doing more of a total rehab or making repairs, you might consider doing another column for that as well.
Here are the categories I include in this basic spreadsheet:
- Name of item needed
- Quantity needed
- My budget for that item
- Total budget for that item (budget x quantity)
- Actual amount spent
Other things you could track on this spreadsheet to really stay organized are:
- product links
- a column to mark as “purchased”
- tracking information/estimate delivery date
At the bottom, the spreadsheet will give a total of my estimated budget and then a total for what I actually spent on the items. After I make a purchase, I go ahead and fill these in so I can track where I’m at and what I’m spending.
Related: How to Decorate Airbnb on a Budget
8. Tackle the Project in Phases
As you execute your design vision, my suggestion is to tackle it in phases. Here are the main phases I go through when designing a new STR:
Phase One: Planning- This is where I do my market research, budgeting, style planning, mood boards, etc. Basically everything I’ve talked about up to this point in this post.
Phase Two: Big Projects & Furnishing- In this phase, I do any improvement projects like painting or wallpapering an accent wall. Then I order all my large furnishings and get them set up in the place.
Phase Three: Finishing Touches & Decor- Finally, I go out and do my wall art and smaller finishing touches like lamps, curtains, etc. There is a Lot of experimenting in this phase, so expect several trips to home decor stores, thrift shops, and tons more online shopping.
Doing the project in phases really helps keep me grounded so that I’m not jumping from one thing to the next. The temptation is always to jump right in and start shopping when I haven’t done the proper planning for the design. That’s why for me, the planning phase is SO crucial.
Conclusion:
Thats a wrap on how to design an Airbnb, or at least how I design my short-term rentals! If you take anything away from this post, let it be that planning and creating a vision is the key to a great design. Best of luck on your own project and hope this post gave you some helpful tips! If you found this read helpful, you can also check out:
9 Gorgeous Airbnb Bedroom Decor Ideas You Need to Use in Your Short-Term Rental
The Absolute Best Place to Buy Furniture for Airbnb: Top 5 Picks
New Airbnb Hosts: Click here to setup your host account for the first time!
This post was all about how to design an Airbnb.
