If you’re a new host or Airbnb housekeeper wondering how to dress a bed for Airbnb, you’re not alone. It is possible to get a stylish bed that’s also easy to launder and maintain!
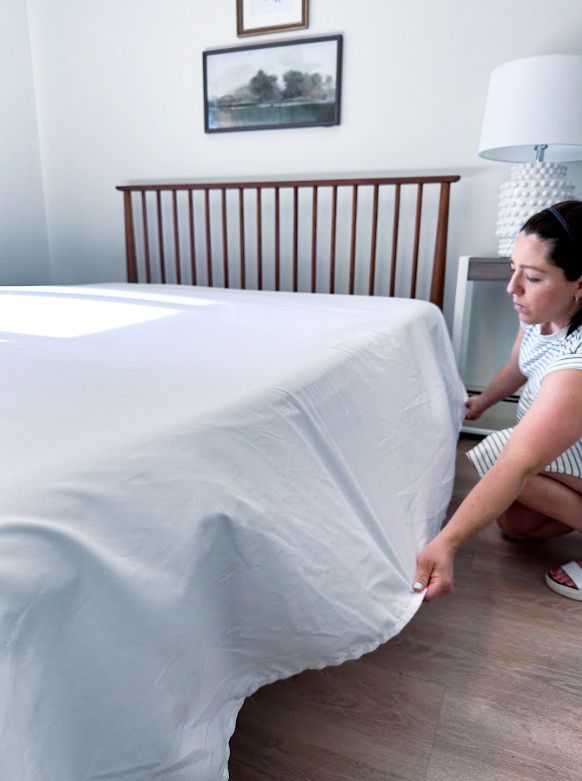
There are so many different ways to make a bed, depending on your goal. You can dress a bed for everyday functionality or a designer look. But you’re probably here to answer this question- How to dress a bed for an Airbnb?
The long and short of it is that you want a stellar look for listing photos, but you also want functionality for laundering and maintaining your linens over time.
I’m here to tell you that, yes, you can have both! Learn from my experience as a 5 year Airbnb host and take some tips as you design your 5 star Airbnb bed.
Here are 8 easy steps on how to dress a bed for Airbnb.
How to Dress a Bed for Your Airbnb:
The “Under Garments”
Step 1: Mattress
If you don’t have this covered already, there’s a couple things to think about when choosing this base layer. Most beds you get online are quite a bit lower to the ground than the beds of a few years ago. These platform beds do not require a box spring, so your bed height will depend solely on your mattress. This is why I like to choose a mattress on the thicker side.
The second thing to think about is firmness. If you’re ordering a mattress online, what’s available is typically going to be memory foam or a combination of spring and memory foam. Some guests will love memory foam, and some will find it way too soft. So my suggestion is to get a medium-firm, spring/foam combination, like this one.
Step 2: Mattress Protector
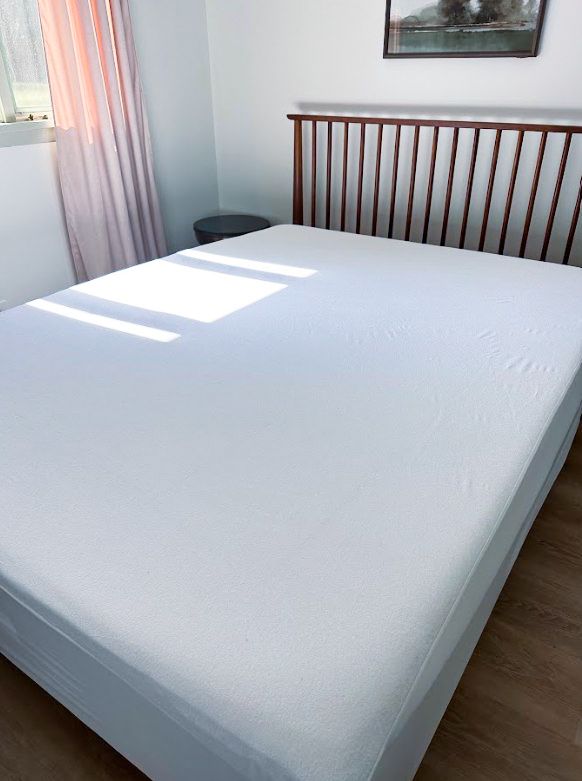
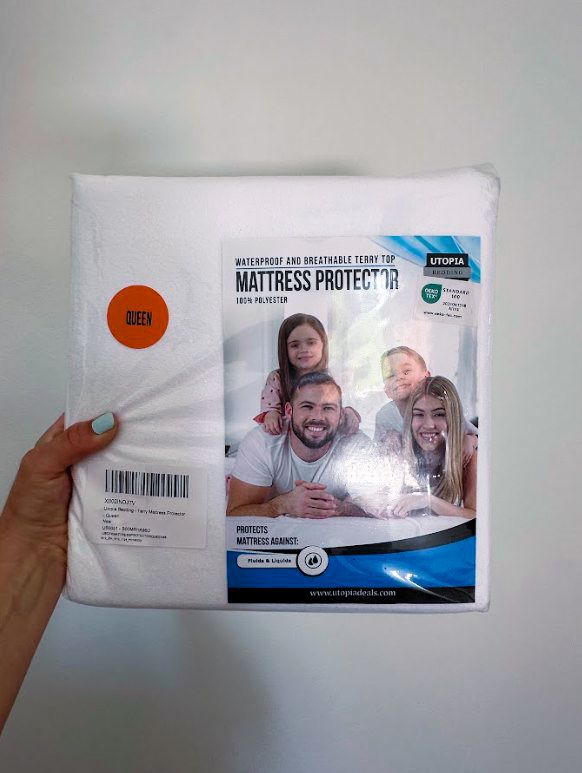
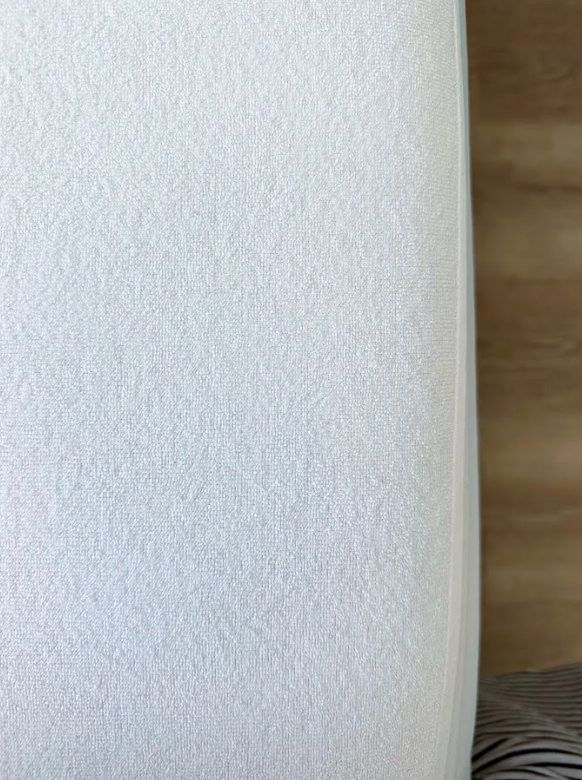
Once you’ve got your mattress, it’s smart to always keep on a waterproof mattress protector. Look for one that’s plush and not plastic-y. There’s nothing worse than being able to hear plastic crinkling every time you roll over in bed.
Step 3:Pillow Protectors
Pillow protectors are also an essential to have and will prevent you from having to wash the entire pillow on a regular basis. They’ll help your pillows last a lot longer.
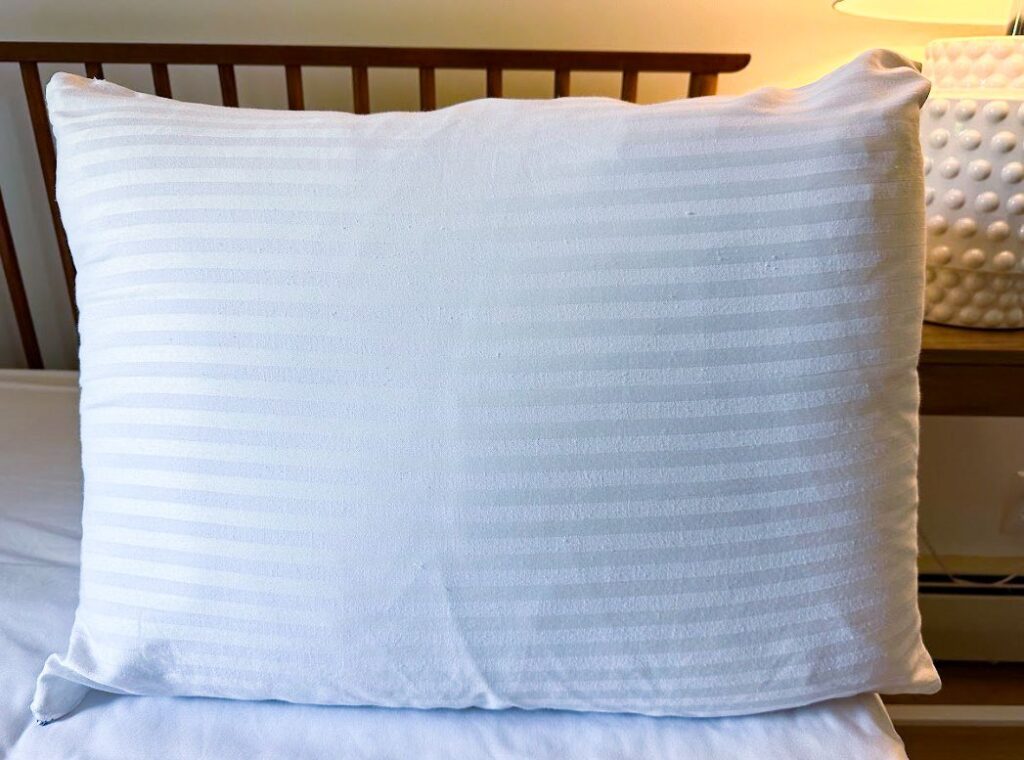
How to Dress a Bed: Sheets
Step 4: Sheets
Alright, let’s get into the fun stuff! Step four is to put on your fitted and flat sheet. If you’ve got sheets with a print or color that you want to show, put the sheet on print-side down, so that when you fold it over, the print shows!
For now, I leave the flat sheet pulled up to the top of the bed until I’ve got my top layer on.
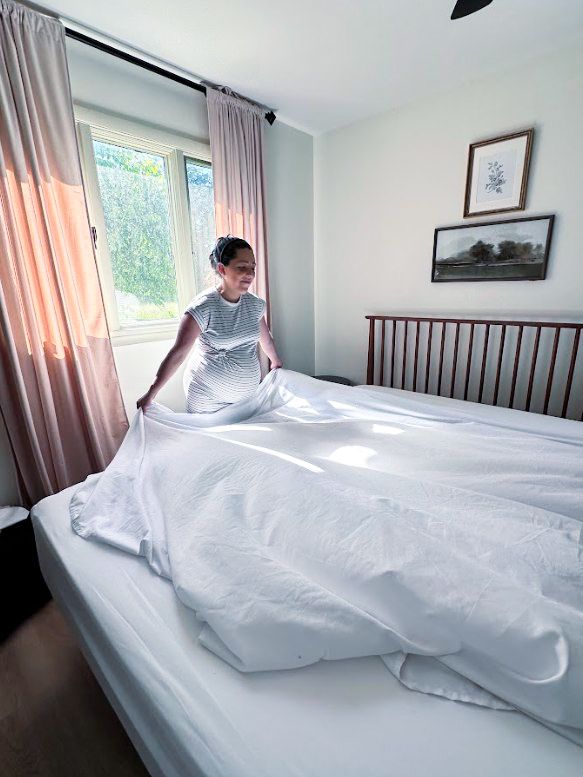
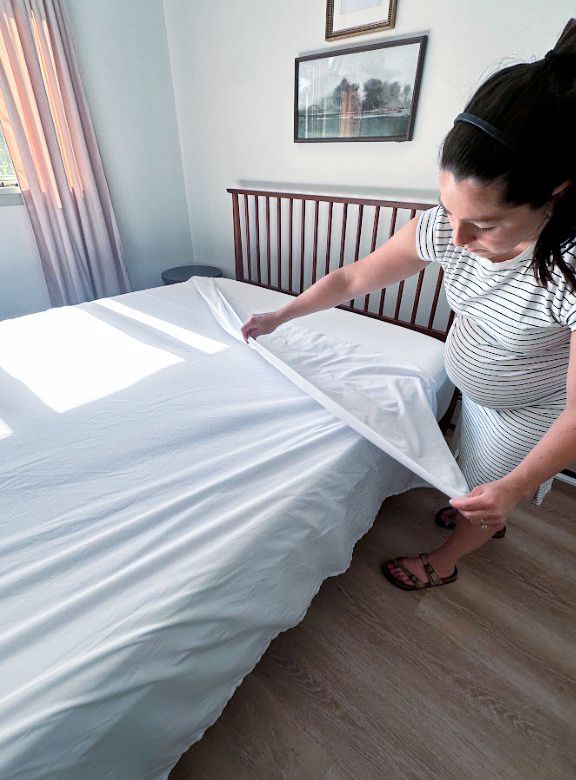
Step 5: Tuck Your Sheets
At this point, decide if you want to tuck your sheets. I personally tuck my sheets, but not my top bedding layer, so it’s at this point that I will tuck my sheets in.
If you’re going to tuck in your top bedding layer, you can wait until then to do it.
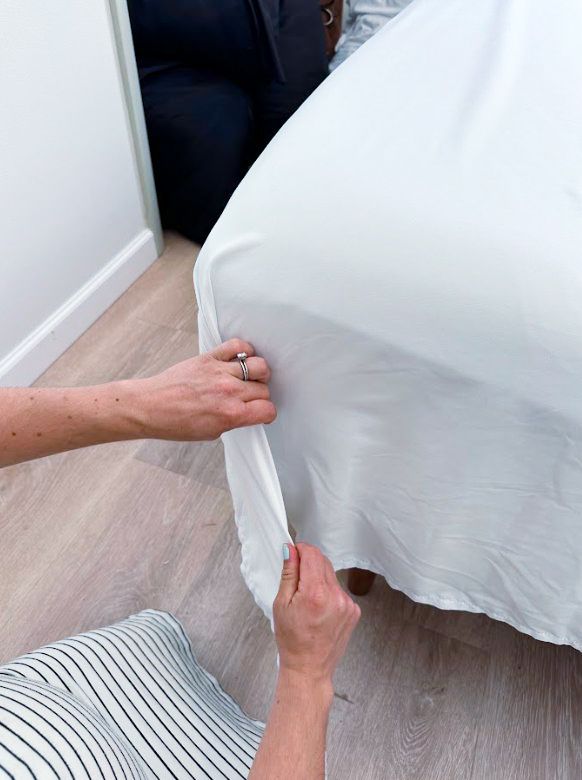
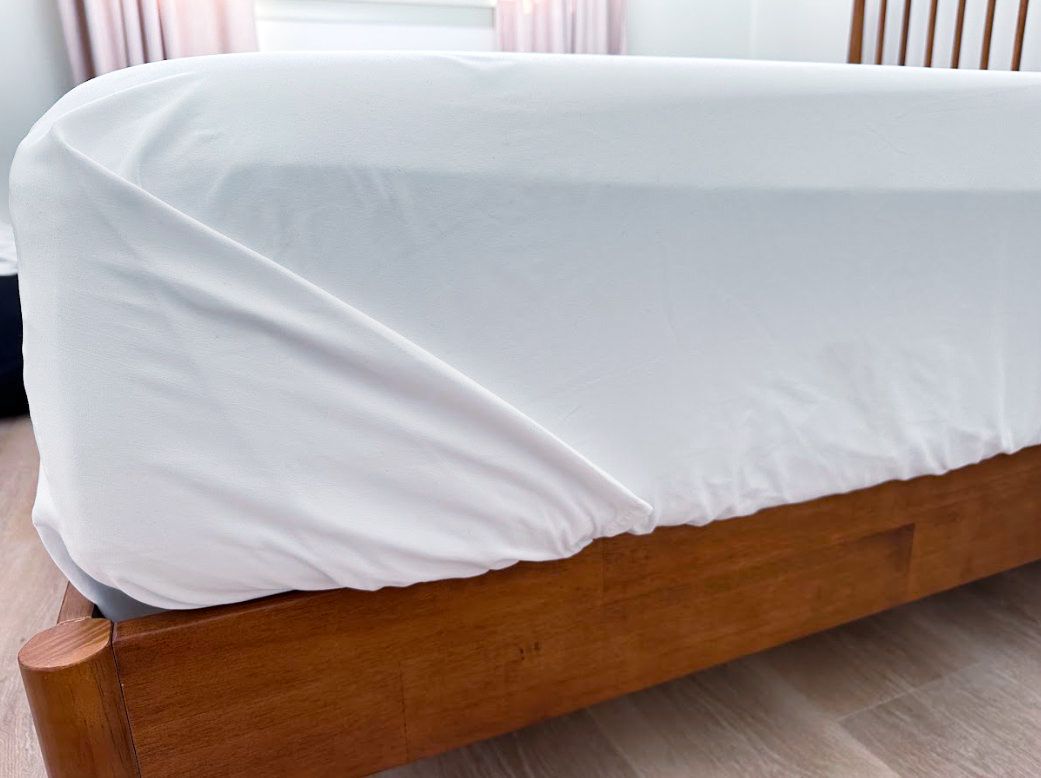
I do the “hospital corner” method, which is basically pulling out the sheet at the corner, tucking the excess, and folding the top back over to create a neat line. Then you just tuck it all under.
I think a tightly tucked sheet looks great because it just gives that appearance and assurance to your guest that these sheets have been prepared specifically for them and untouched before their arrival.
For bonus points: you can iron your sheets ahead of time (but who really has time for that!?) or steam your sheets right on the bed. Or for an even quicker way to smooth your sheets, just mist some water on the bed before pulling your sheets tight and smoothing them out.
Related: How to Get the Perfect Airbnb Bed: 5+ Airbnb Bedding Tips
Option #1: How to Dress a Bed with a Quilt
For the next step here, you’ll need to pick your top layer. Quilts are best for:
- Warmer climates or season
- Clean, simple look
- Easy laundering
For more Pros and Cons about which type of top layer to choose, check out this post.
Step 6: (Quilt Option)
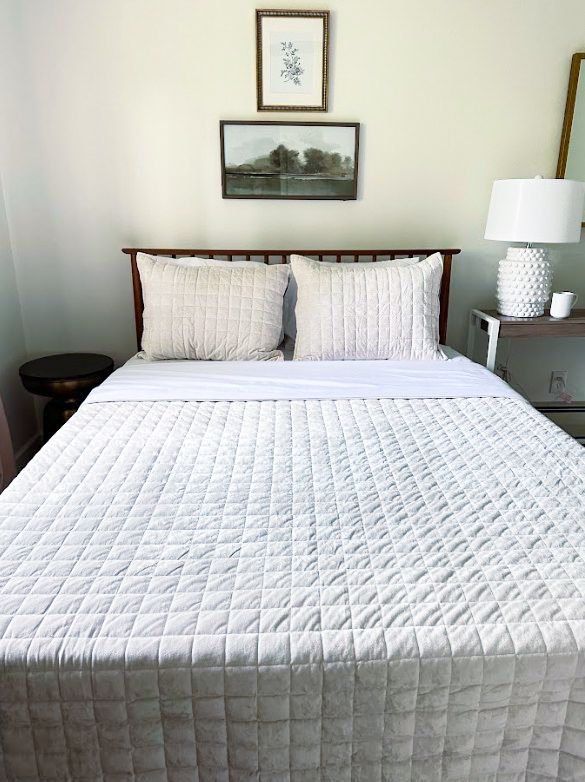
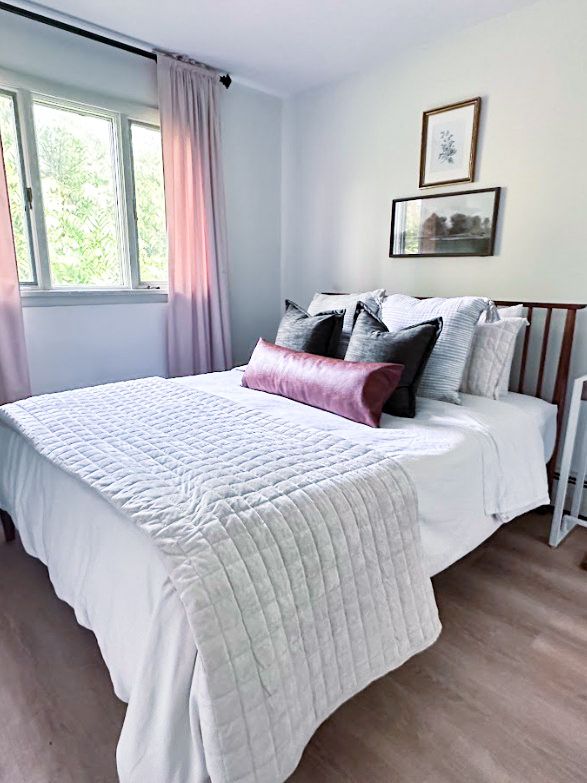
Lay your quilt on the bed and fold the top of the quilt and the sheet together about ⅓ of the way down the bed (Enough room for your pillows to stack at the head of the bed)
Here is where you can choose to tuck or not to tuck. I like a more casual, effortless look, so I chose to leave my quilt untucked.
If your bed has a footboard , you can choose to tuck in the end but leave the sides un-tucked for a similar look .
Option #2: How to Dress a Bed with a Duvet
Duvets are great for:
- A cooler climate or season
- A fuller, cozy look
- Easy to change out for laundering and whenever you want to switch up your cover
Step 6: (Duvet Option)
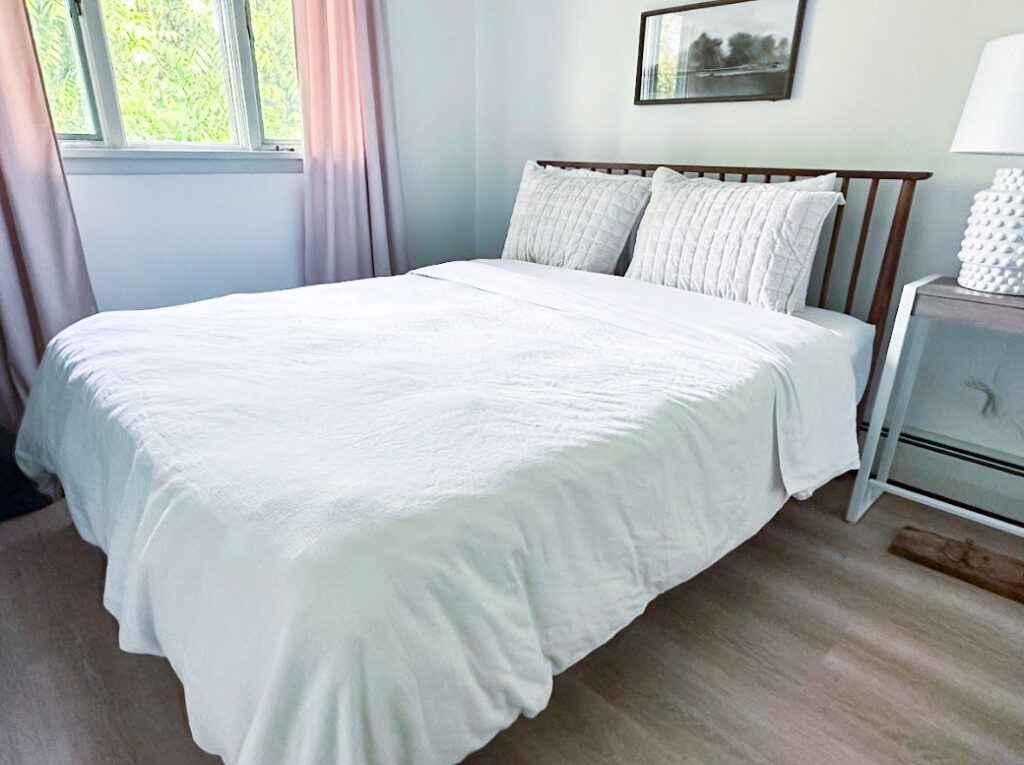
Lay your duvet on the bed and fold the duvet and the sheet together about ⅓ of the way down the bed.
Duvet Tip: If you’re struggling with putting the duvet inside the duvet cover (like I used to!), try the burrito method:
- Lay the duvet cover inside-out op top of the bed with the zipper at the head of the bed
- Lay the duvet insert over top of the cover and line up the corners
- Starting at the top, roll the two together toward the foot of the bed
- Once you reach the foot of the bed, reach into the opening on one side and flip the entire “burrito” end out. Do the same on the other end. Note: if the opening of your duvet cover is small, you may have to fold the ends in and pop them back out to do this step.
- Once your “burrito” is flipped outward, begun rolling it back out toward the top of the bed
How to Dress a Bed: Pillows
Step 7: Stack your pillows
I like to stack my pillows upright, but if you’re going for a more clean or modern look, feel free to stack them on top of one another.
I personally provide 2 softer pillows and 2 firmer pillows. The 2 soft ones get covered with regular pillowcases and placed in the back. Then, the two firm ones get covered with a sham and are placed in the front since they hold up well and look nicer presentation-wise.
However, you could cover all your pillows with regular pillowcases and skip the shams. For some people, it seems strange to sleep on a pillow with a sham, since it is more decorative.
Tip: How to Dress a Bed for Photos
Step 8: Throw Pillows
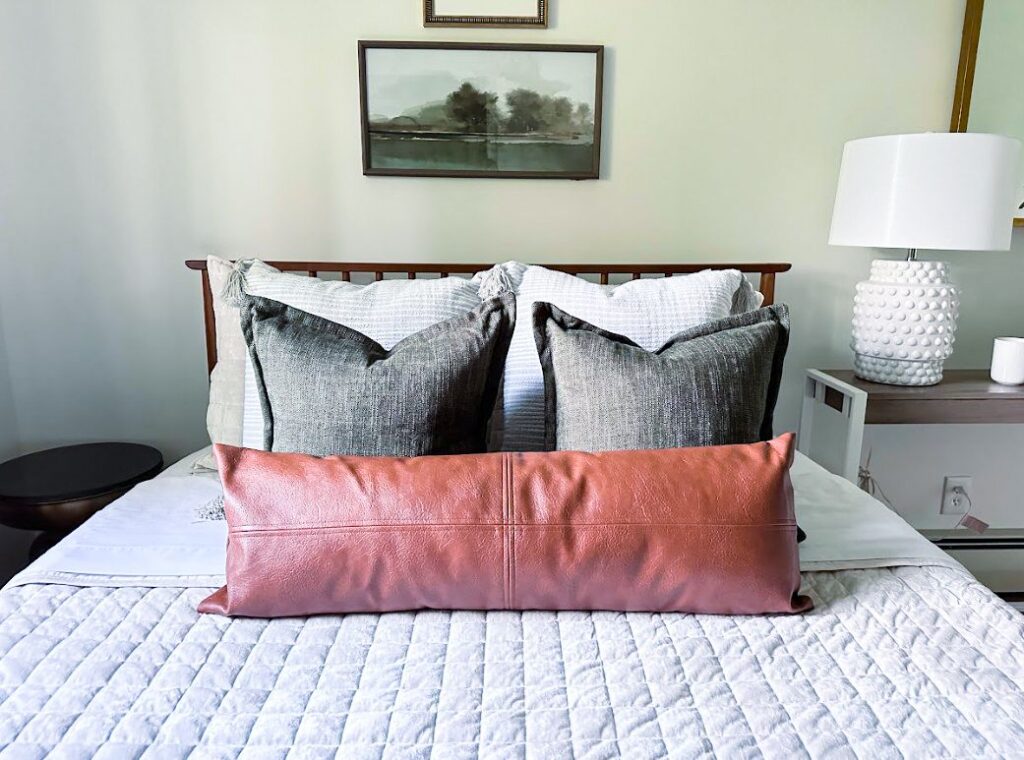
I highly recommend dressing your bed up with some throw pillows, at least when getting photos of your listing. Whether or not you actually keep them on your bed after is another story.
True, they can be another item to keep clean, but they really do give that inviting and gorgeous bed look.
Again, if you prefer that clean, hotel look, your choices might look a little different. Maybe one simple lumbar pillow place in front of your stacked sleeping pillows.
But if you’re going for a styled bed that is really pleasing to the eye and pops out in the photos, throw pillows do wonders and can add so much texture and style to your bed instantly!
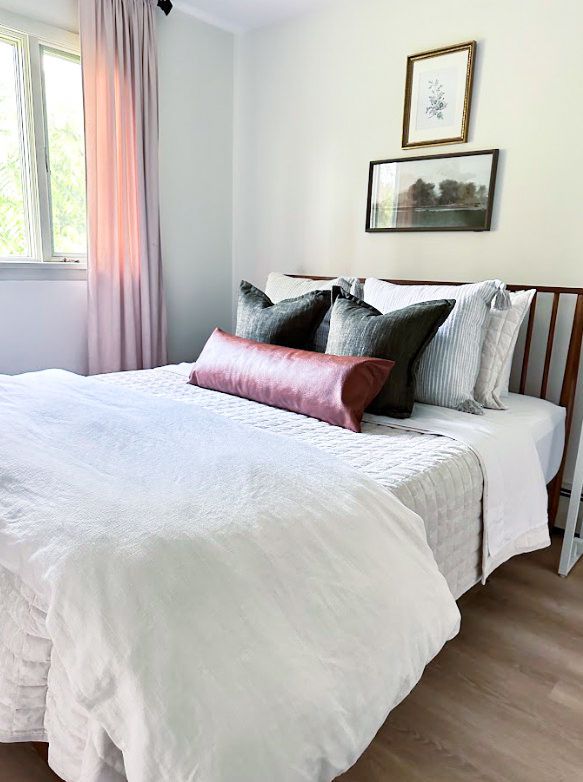
I put two matching throws stacked side by side and then, a set of two smaller ones, and finally a lumbar in the front.
Step 9: Blankets
Optionally, you can add a cute tray and a throw blanket, but once photos are taken, I opt to leave extra blankets folded in the closet so that they don’t need to be washed each time and we know if they’ve been used.
For my Quilt Bed option, I chose to fold a duvet on the end of the bed for added texture. And vice versa, for my Duvet Bed option, I folded the quilt at the end of the bed.

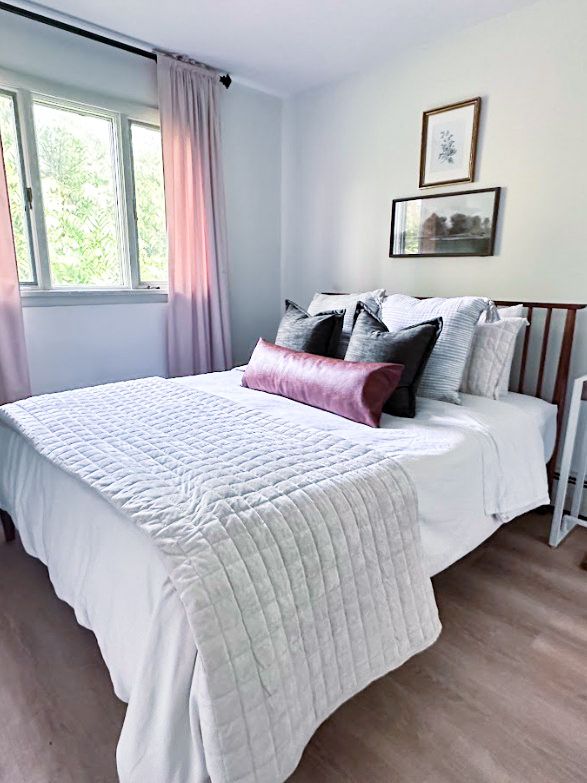
You could also choose to use a bad blanket, coverlet, or throw blanket.
Conclusion
As a host who manages multiple properties, it is SO convenient to have a system, process, and consistent products for making my Airbnb beds. I hope this post helped you on your journey to creating your perfect bed!
9 Gorgeous Airbnb Bedroom Decor Ideas You Need to Use in Your Short-Term Rental
A Superhost’s Best Sheets for Airbnb (Amazon Find)!
This post was all about how to dress a bed for Airbnb.
